


Hiya Bloggers
Its time for another challenge at
and this week we are sponsored by

who are giving the winner
Spellbinders Decagon Die Set
So here is my project, along with a step-by-step of how I created it

I brought the wooden disc kit from That Craft Place a while ago, fab price of £1.99, and the 3 wooden hearts & wooden ladybug from Crafty Pig Designs

We always have loads of leftover paint in our house so I grabbed what I needed, choosing a few different shades of green, black & red

First step is to paint both sides of all 3 discs, and the edges, in different shades of green. Then paint the ladybugs body, 6 wooden beads & the 3 hearts red and 6 beads black

Paint the ladybugs head black and a thin line down the middle

I used a strong wet glue to stick the hearts to the middle sized disc

To decorate I used some black 6mm flat back pearls, again stuck on wit the strong wet glue. The white pencil is a wax pick-up pencil, they are brilliant for picking up teeny gems and things

Middle disc complete

I wanted to keep my ladybugs pattern simple so just used 6 6mm black flat back pearls

Sticking on again with strong wet glue

I stuck the ladybug onto the largest of the wooden discs

For the smallest disc I chose red & black flat back pearls & hearts in different sizes. I always play around with my placement of tings before sticking down & this time decided it was too crowded using the red flat backs as well as the black, so left them off

Smallest disc complete

I left all 3 discs to dry overnight


I threaded the red & black beads onto the twine and secured with a knot above the top bead so they wouldnt move about
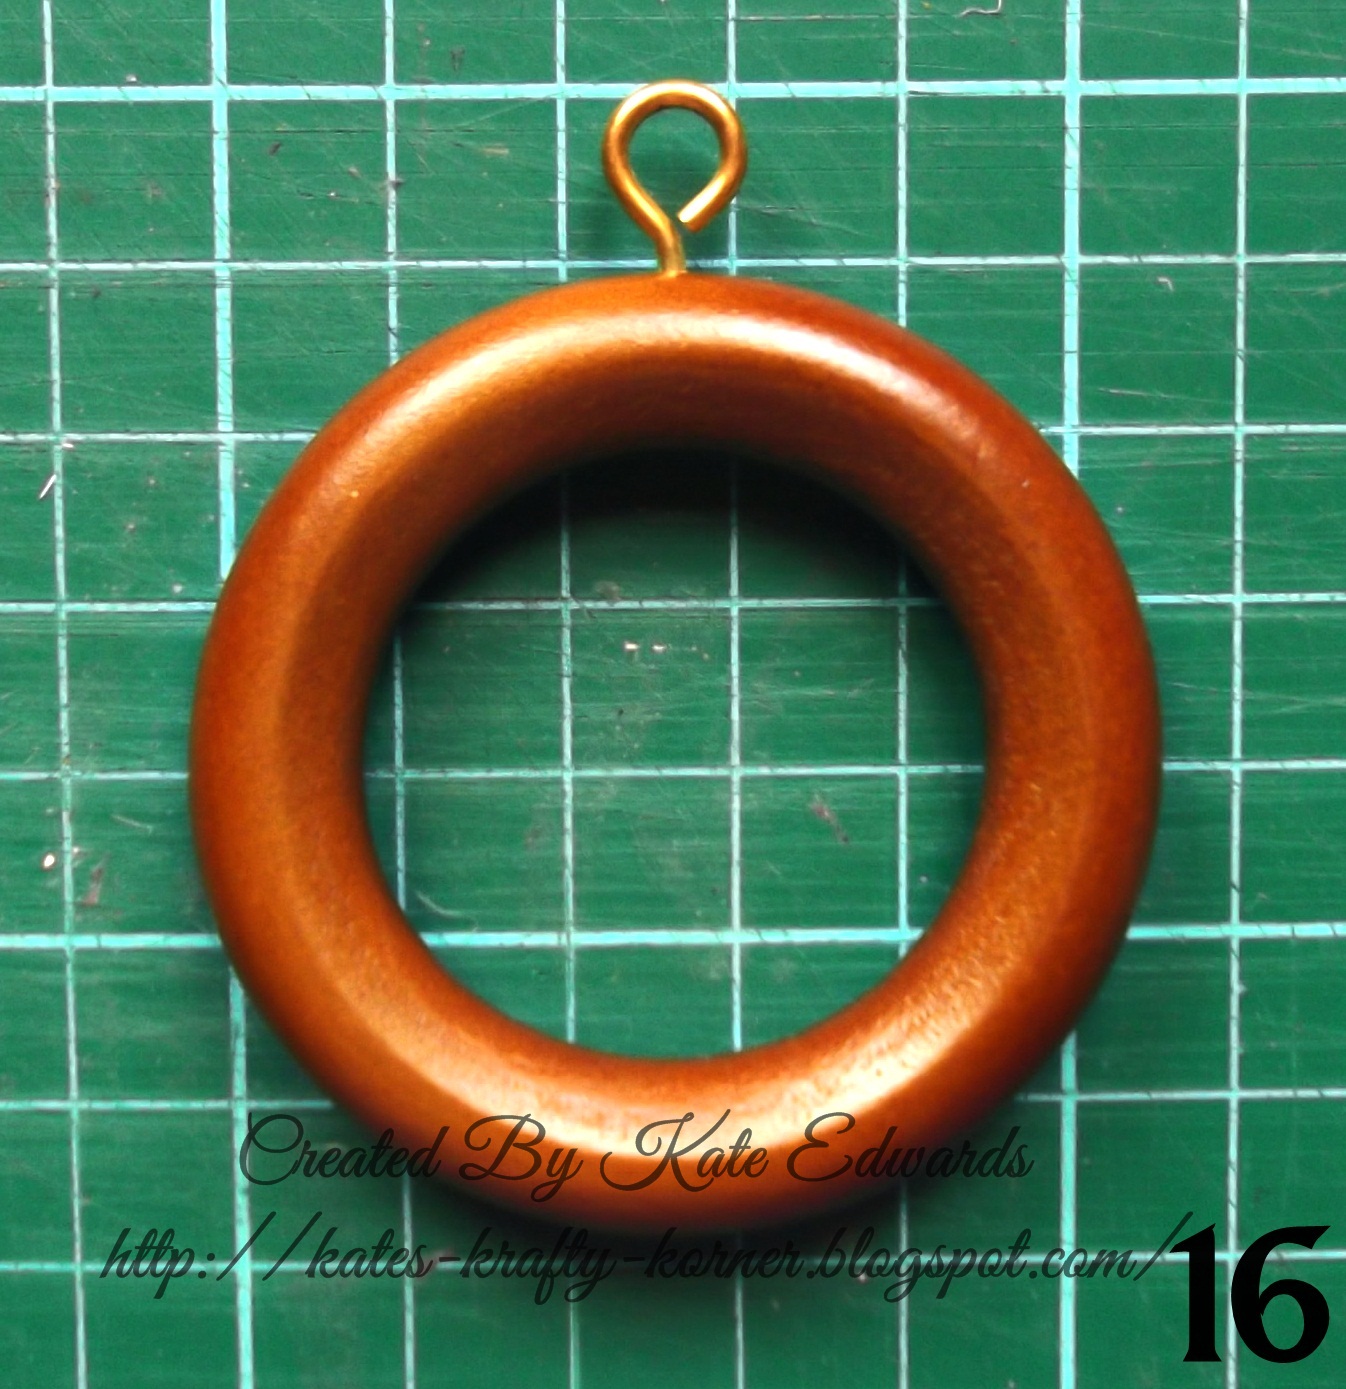
Now I needed something to hang my discs from, and found an old curtain ring in a yucky brown colour

So I sanded it

The final thing to complete my ladybug hanging was to tie the 3 discs at different lengths to the little eye on the curtain ring and it was ready for hanging
I hope you liked my little tutorial and that you will join in with the challenge this week
Happy Crafting

I would like to enter this into the following challenges:


No comments:
Post a Comment
xx thank you for all your comments xx